Which Training Tool Should You Use?
The tool doesn't train the dog. You do. Learn leash pressure training, then use any collar or harness correctly alongside it.
People often ask what the best collar or harness is for a dog that pulls. The honest answer is that it depends far less on the equipment than most people think. A tool can make handling easier, but if the training underneath it isn't done — and the manufacturer's instructions for fitting and using that tool haven't been followed — the tool may not work as well. This page explains the training method first, then covers each common tool and what to check before you use it.
Written by Darren Scahill, professional dog trainer.
Leash Pressure Training — The Method Behind Every Tool
Leash pressure training is a foundational training approach that works alongside any collar or harness. The core method stays the same regardless of which equipment you choose — only the physical application changes. Always follow your equipment's manufacturer's instructions for fit and use; this page teaches the training principles, not equipment-specific guidance.
Before You Start
- Fit the tool correctly. Follow the manufacturer's instructions exactly — correct fit is what makes any collar or harness safe and effective.
- Train somewhere with few distractions. Start indoors or in a quiet area, not on a busy street or at the park.
- Choose a reward that works for your dog. High-value food, praise, or both — whatever your dog genuinely wants.
The Method
- Apply light pressure to the leash and say your dog's name.
- When your dog looks at you, immediately offer the reward. Your dog has to come to you for the reward — not the other way around.
- Repeat this consistently, so your dog learns that leash pressure means something good is about to happen.
- Once your dog responds consistently to leash pressure, start varying what follows: sometimes reward with food, sometimes with praise, sometimes with just the verbal cue "tst" or a directional change. This prevents your dog relying solely on food and teaches them that responding to pressure always leads to something good — whether that's a treat, attention, or the ability to continue what they wanted to do.
On an Actual Walk
A dog usually pulls because it's learned that pulling gets it to whatever it wants to sniff or reach. If you stop walking the moment your dog applies pressure, and only continue when the pressure releases, your dog learns the same lesson as with food: pressure gets nothing, a loose lead gets everything. The end goal is simple — pressure on the lead leads to the dog stopping, then either a reward, a verbal cue, or permission to go and sniff what it wanted.
Don't allow your dog to pull you to something it wants — doing this reinforces the pulling. Just stop, wait for the leash to go loose, then move on. If the leash goes tight again straight away, stop again.
Extra Tools in the Method
The "tst" sound is a verbal interrupter — a neutral way to redirect your dog's attention without a physical correction. Changing direction is another interrupter, useful when the environment is too overwhelming for your dog to focus. You can also teach a "check in" cue, so your dog learns that checking in with you is always a safe, rewarding thing to do.
What Each Tool Is — Select a Type
Halti Headcollar
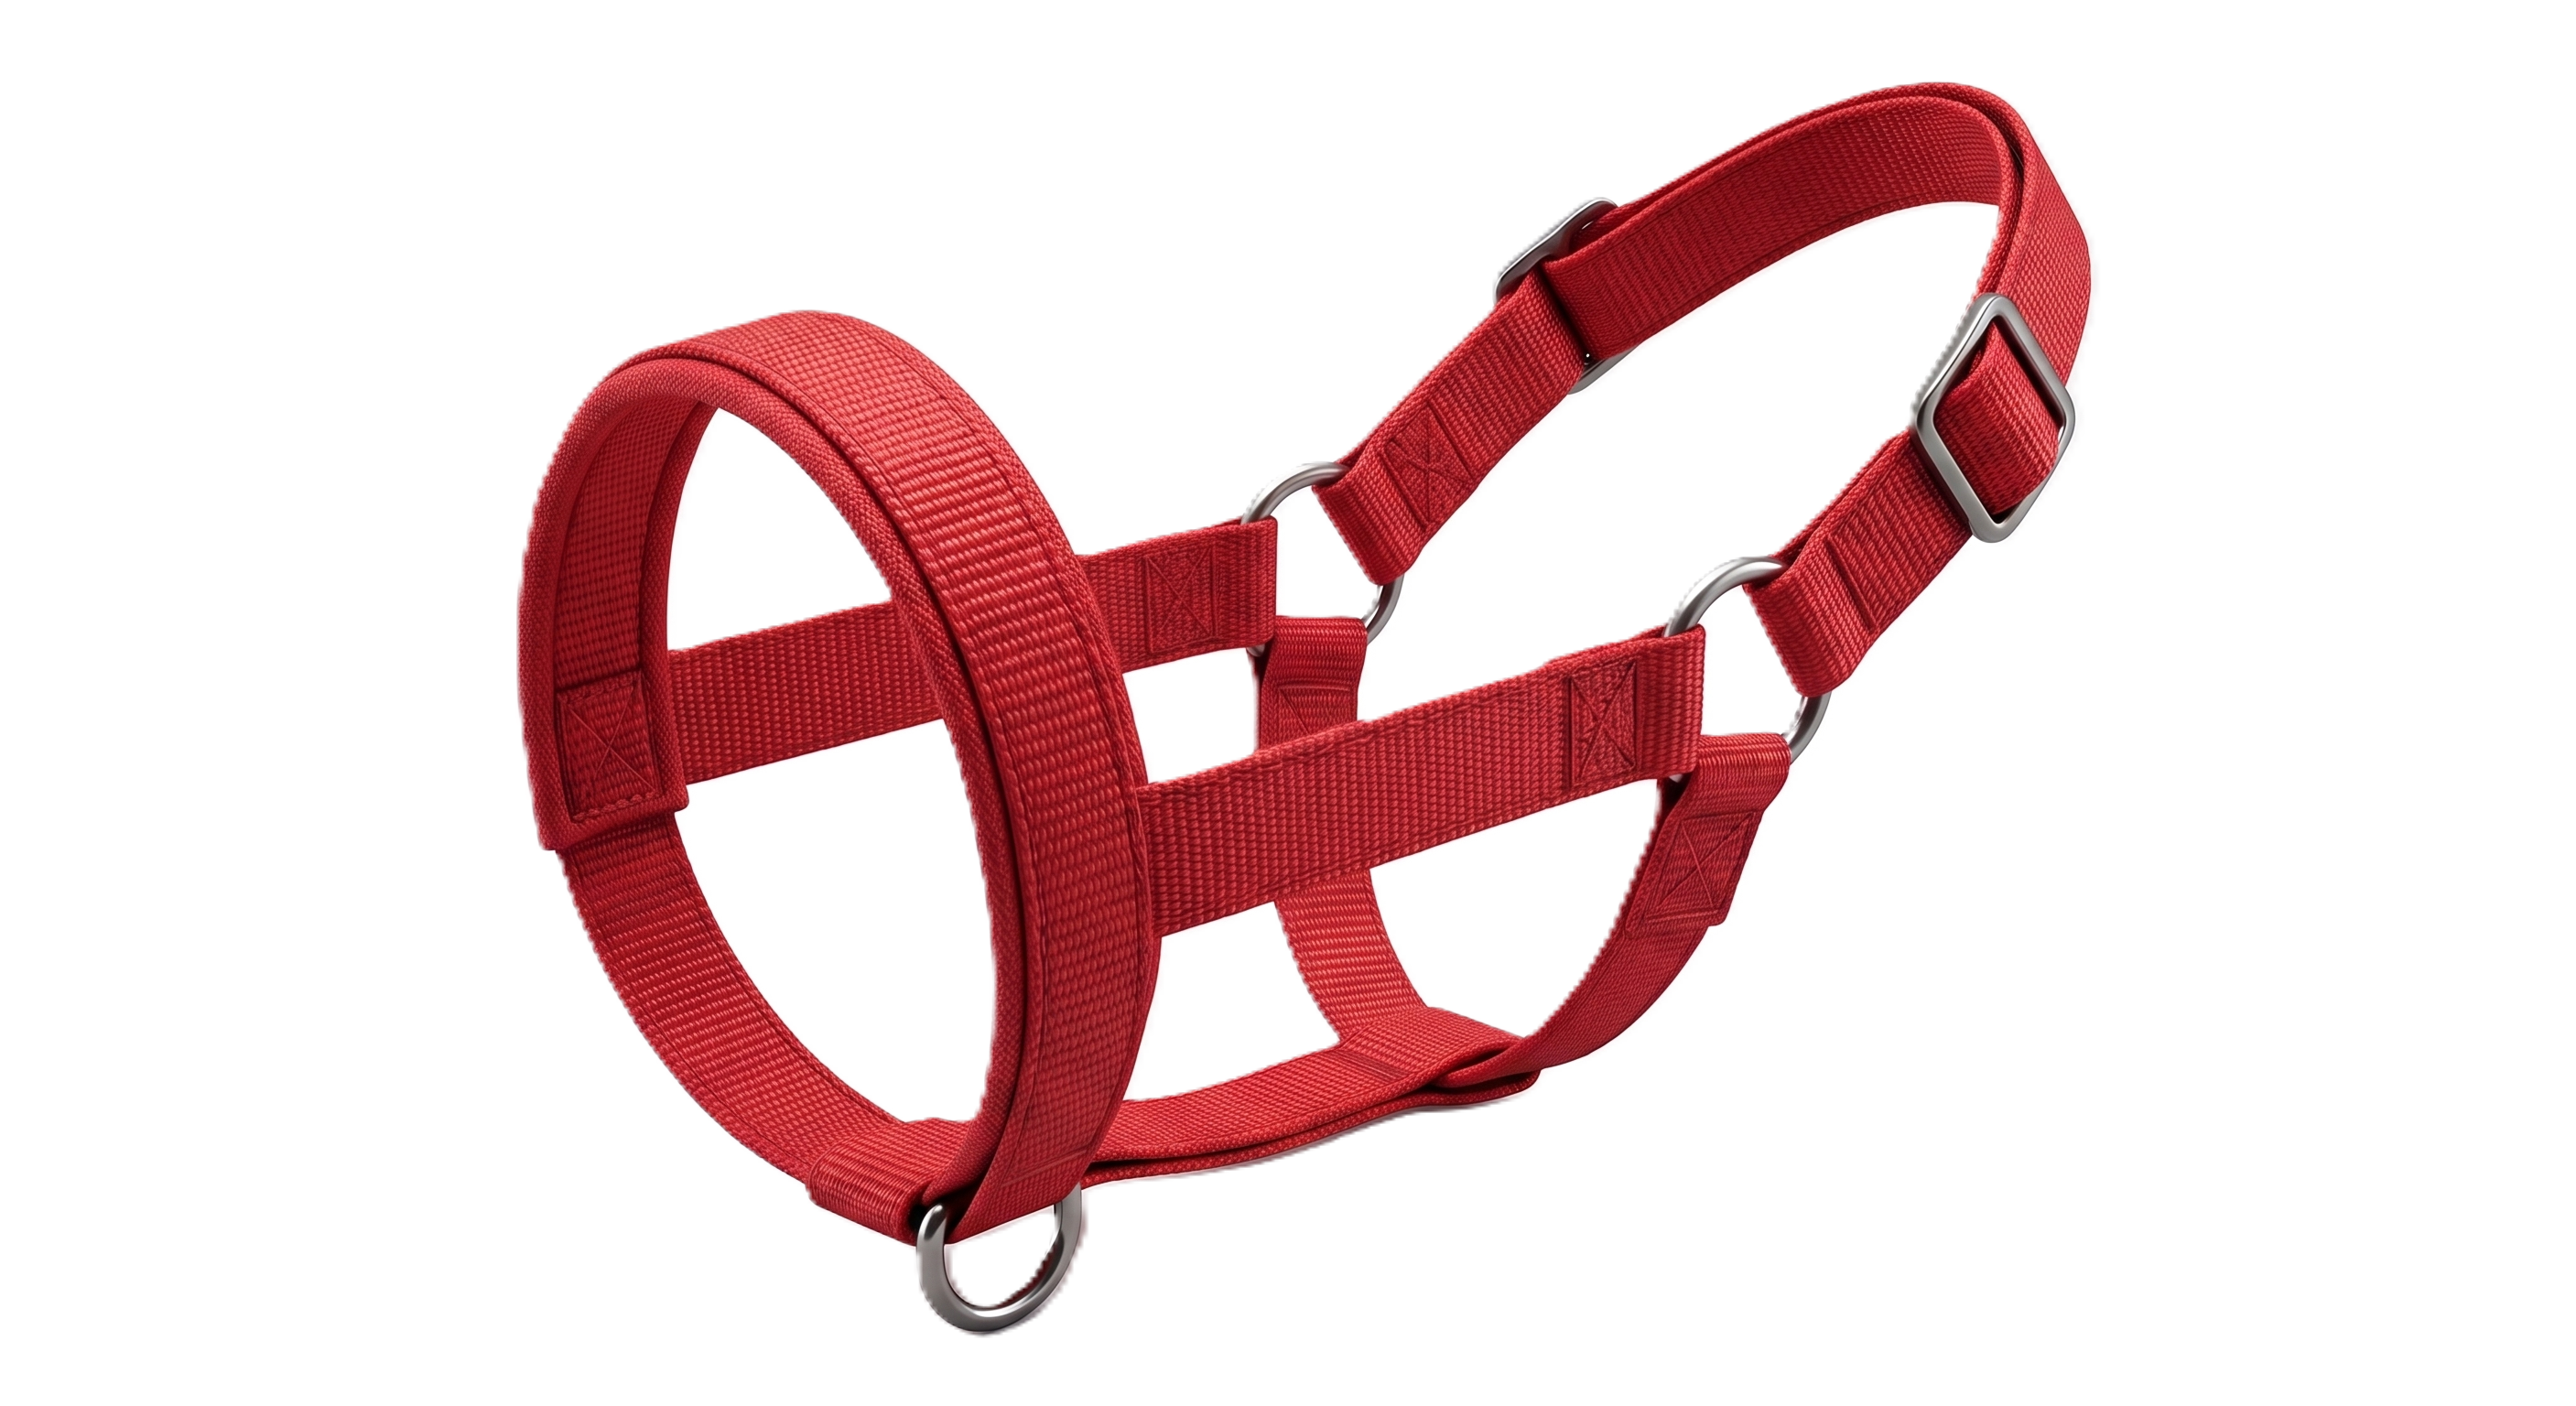
A headcollar that controls the dog's head position — where the head goes, the body follows. It can make handling a strong puller easier without needing physical strength.
Advantages: Strong directional control without needing physical strength; useful for large or very strong dogs; doesn't apply pressure to the throat.
Disadvantages: Many dogs need a careful introduction period before accepting it on their face; can slip off if not correctly fitted; must never be used with sudden jerks or corrections.
Soft Collar (Flat or Buckle Collar)
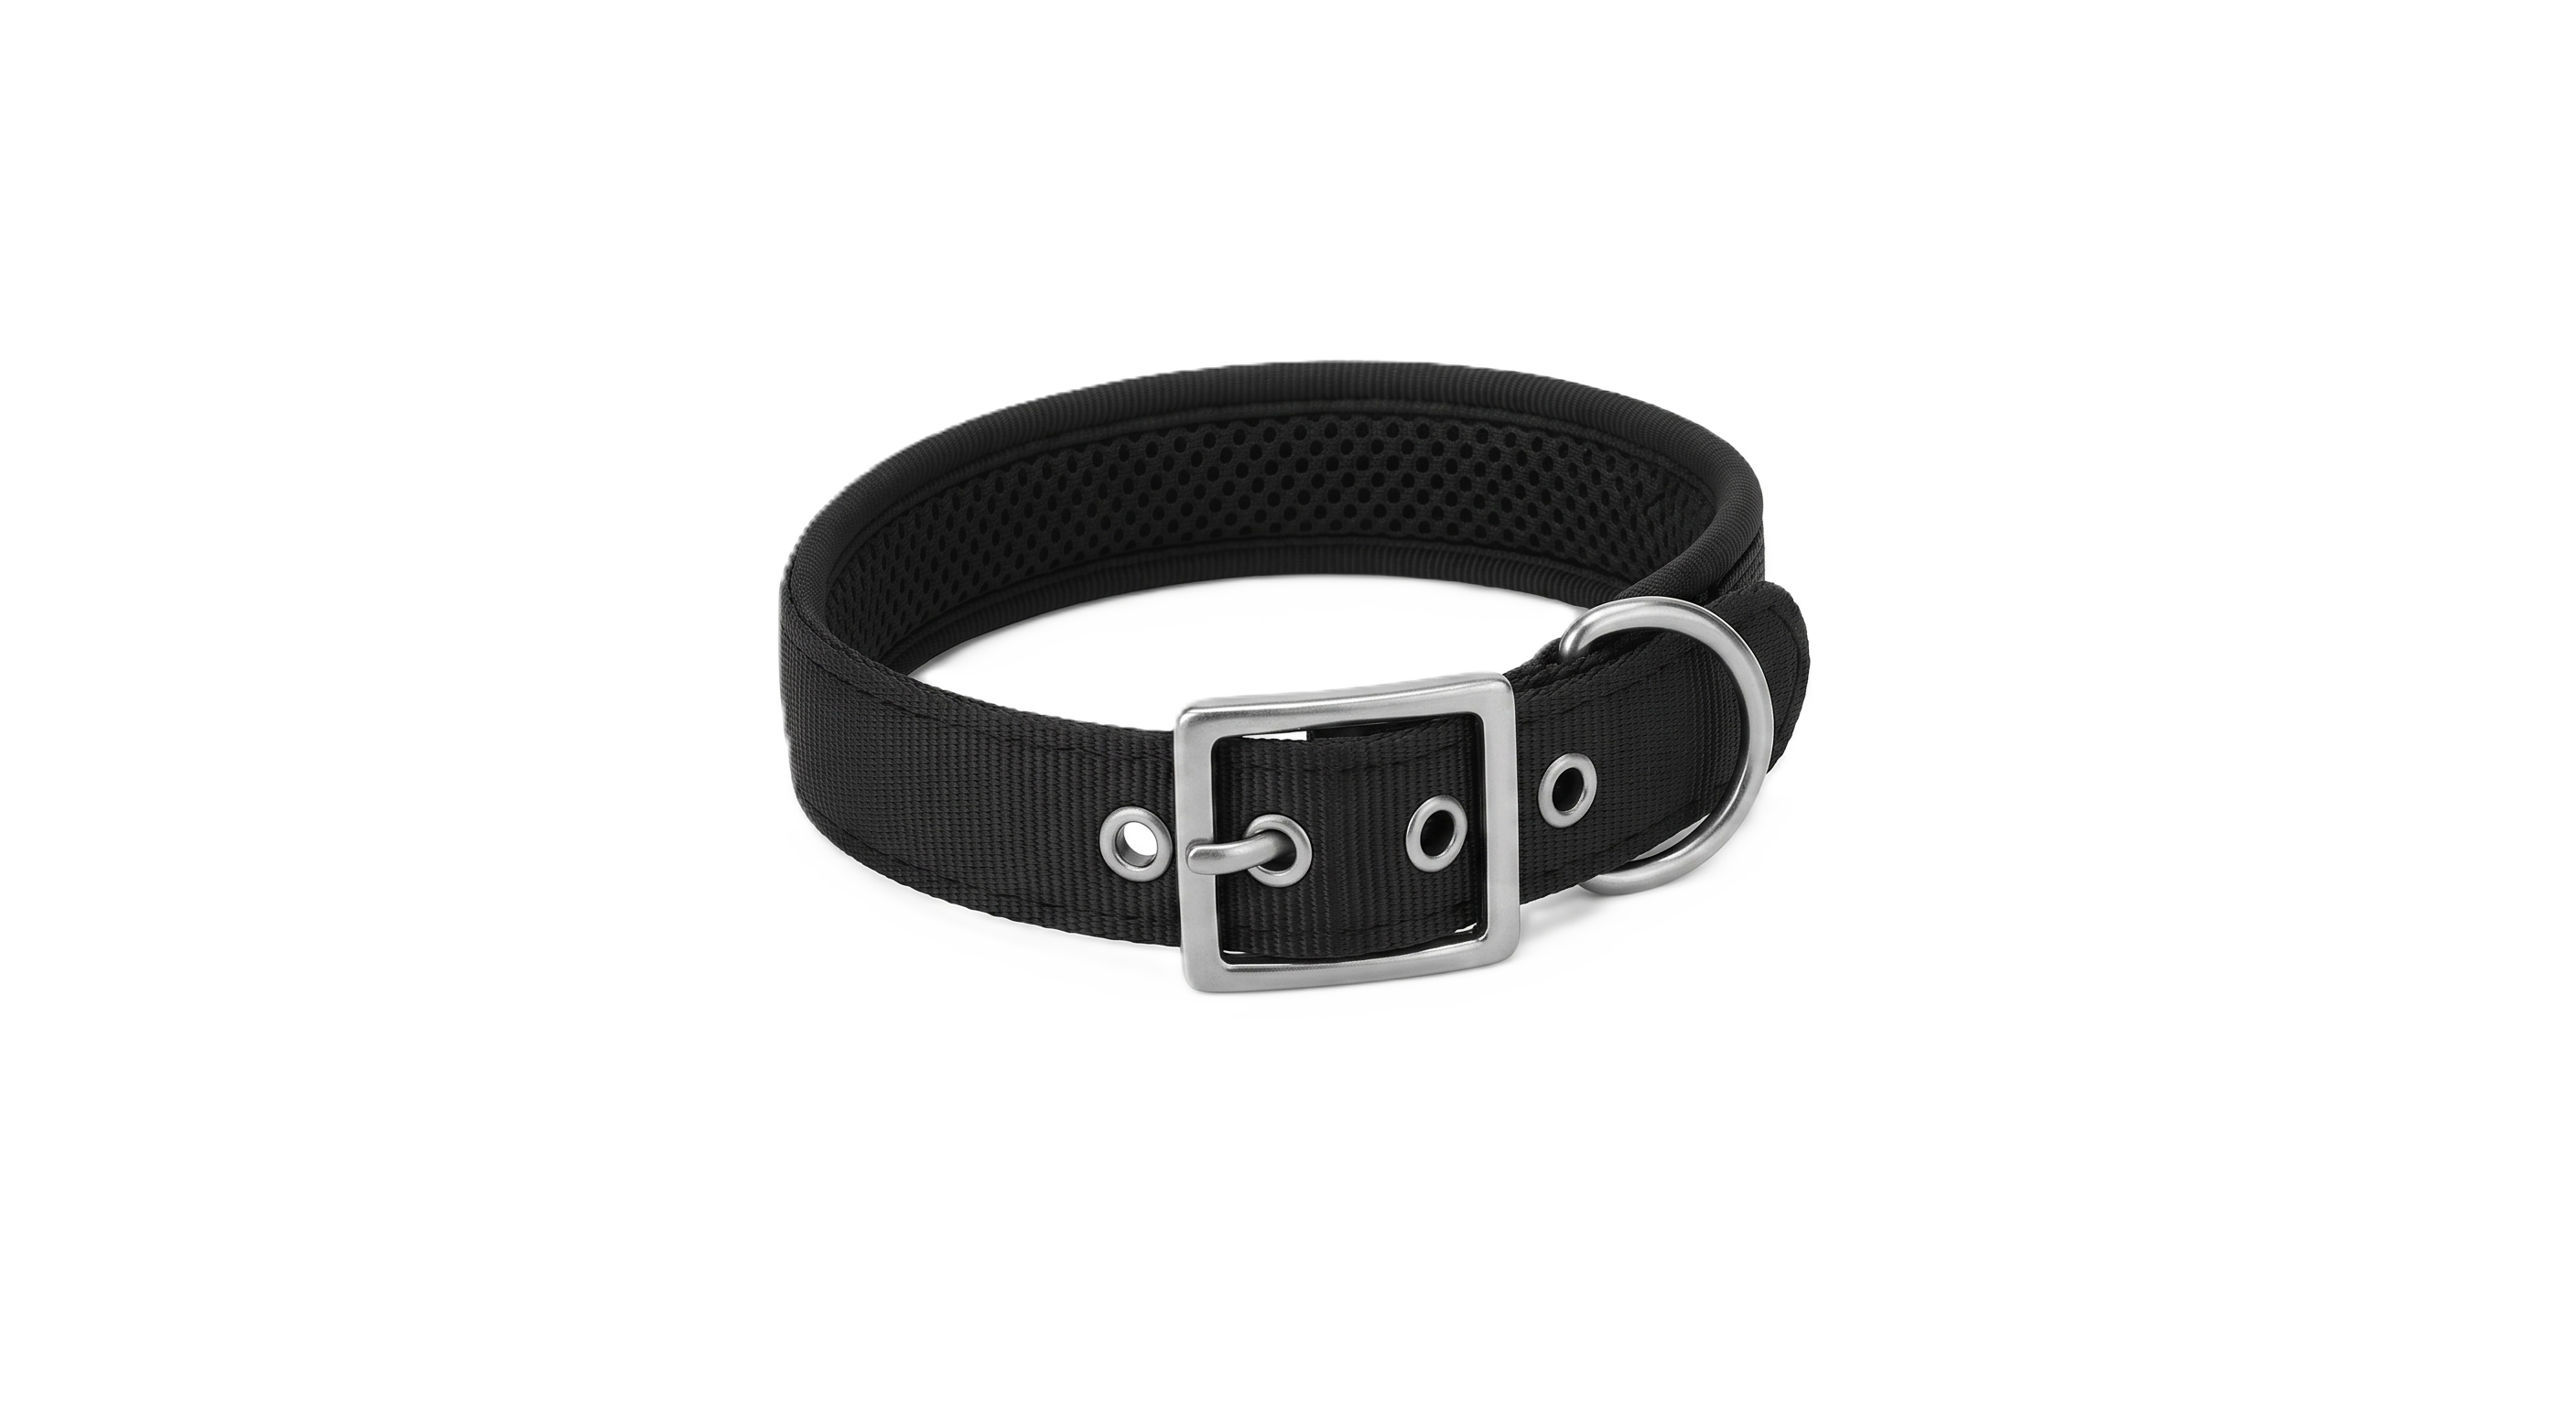
The simplest tool available — a standard collar with no special mechanism. It relies entirely on the training method above; there's nothing built into the equipment that redirects or corrects the dog.
Advantages: Simple, comfortable, and low-risk; suitable for virtually every dog; no special fitting beyond correct sizing.
Disadvantages: No mechanical help with pulling — success relies entirely on consistent training; dogs with narrow heads (such as sighthounds) can back out of a standard flat collar.
No-Pull Harness
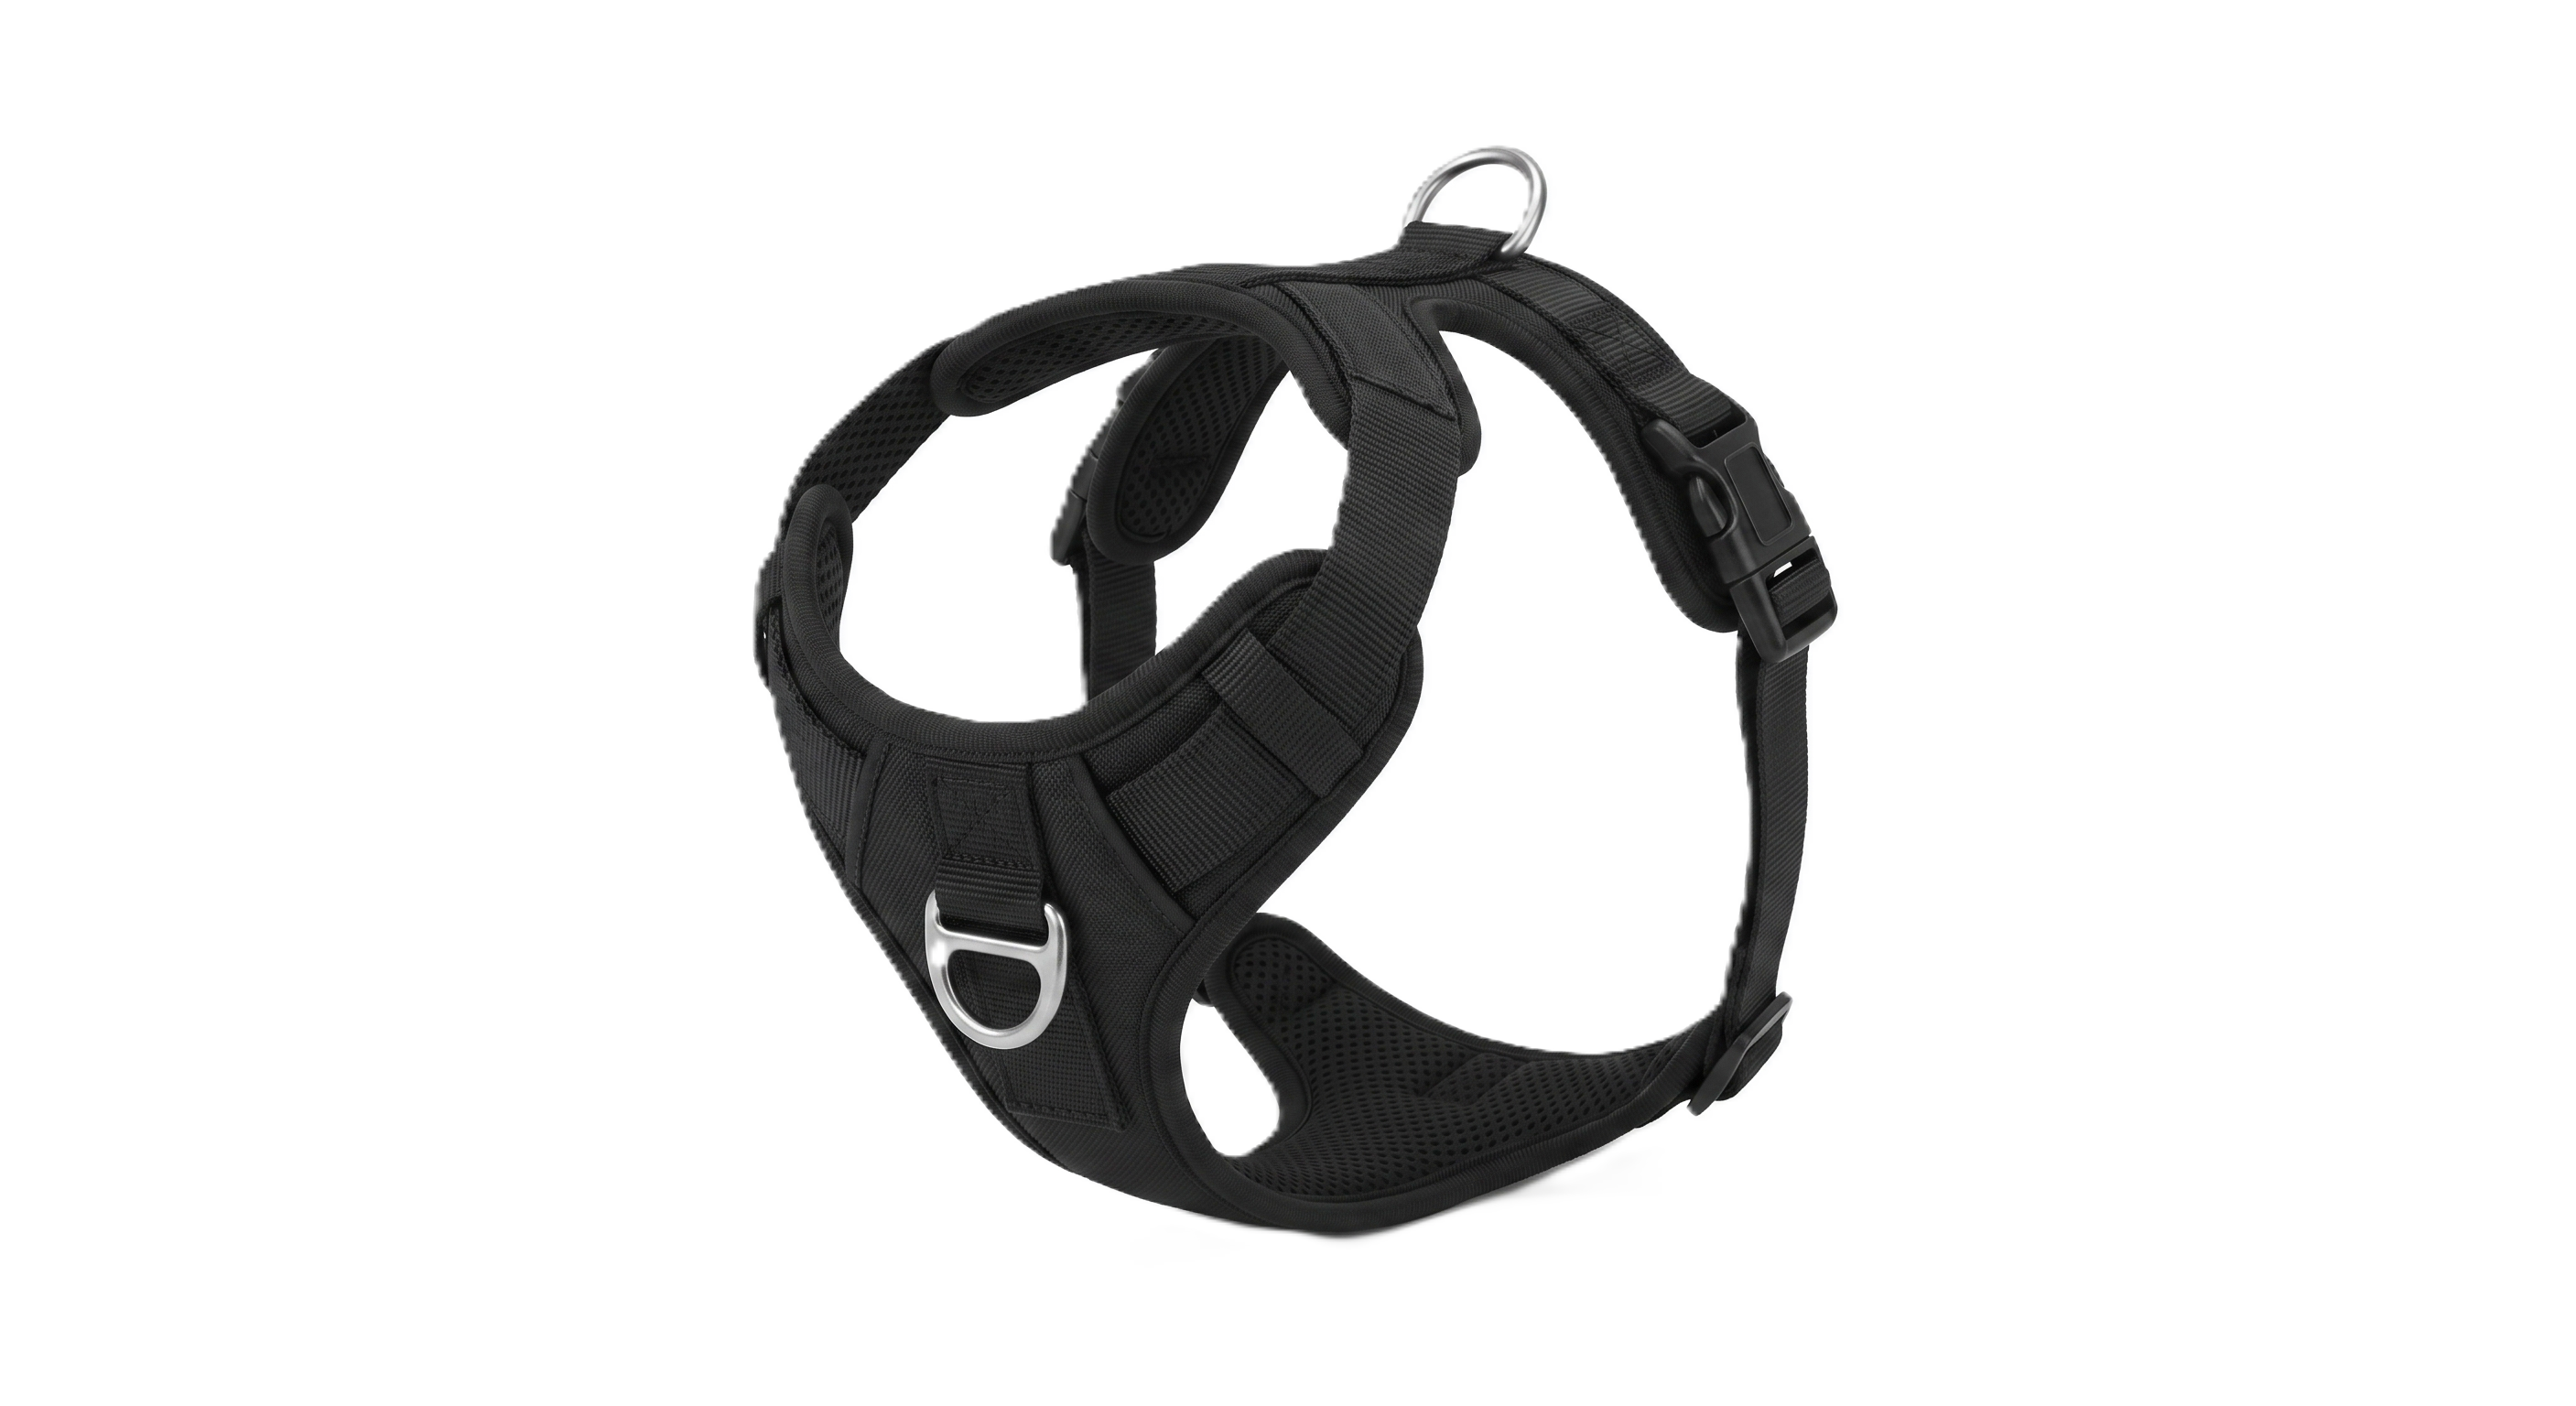
A harness with a ring attachment at the chest. When a dog pulls, the lead pressure gently redirects them back towards the handler, which can make training easier without requiring strength.
Advantages: Comfortable, keeps pressure off the neck and throat; gentle redirection when the dog pulls; suitable for brachycephalic breeds or dogs with any neck sensitivity.
Disadvantages: Must be attached to the front ring to work as intended; if poorly fitted it can rub or restrict shoulder movement; may not offer enough control alone for very strong pullers early in training.
Martingale Collar
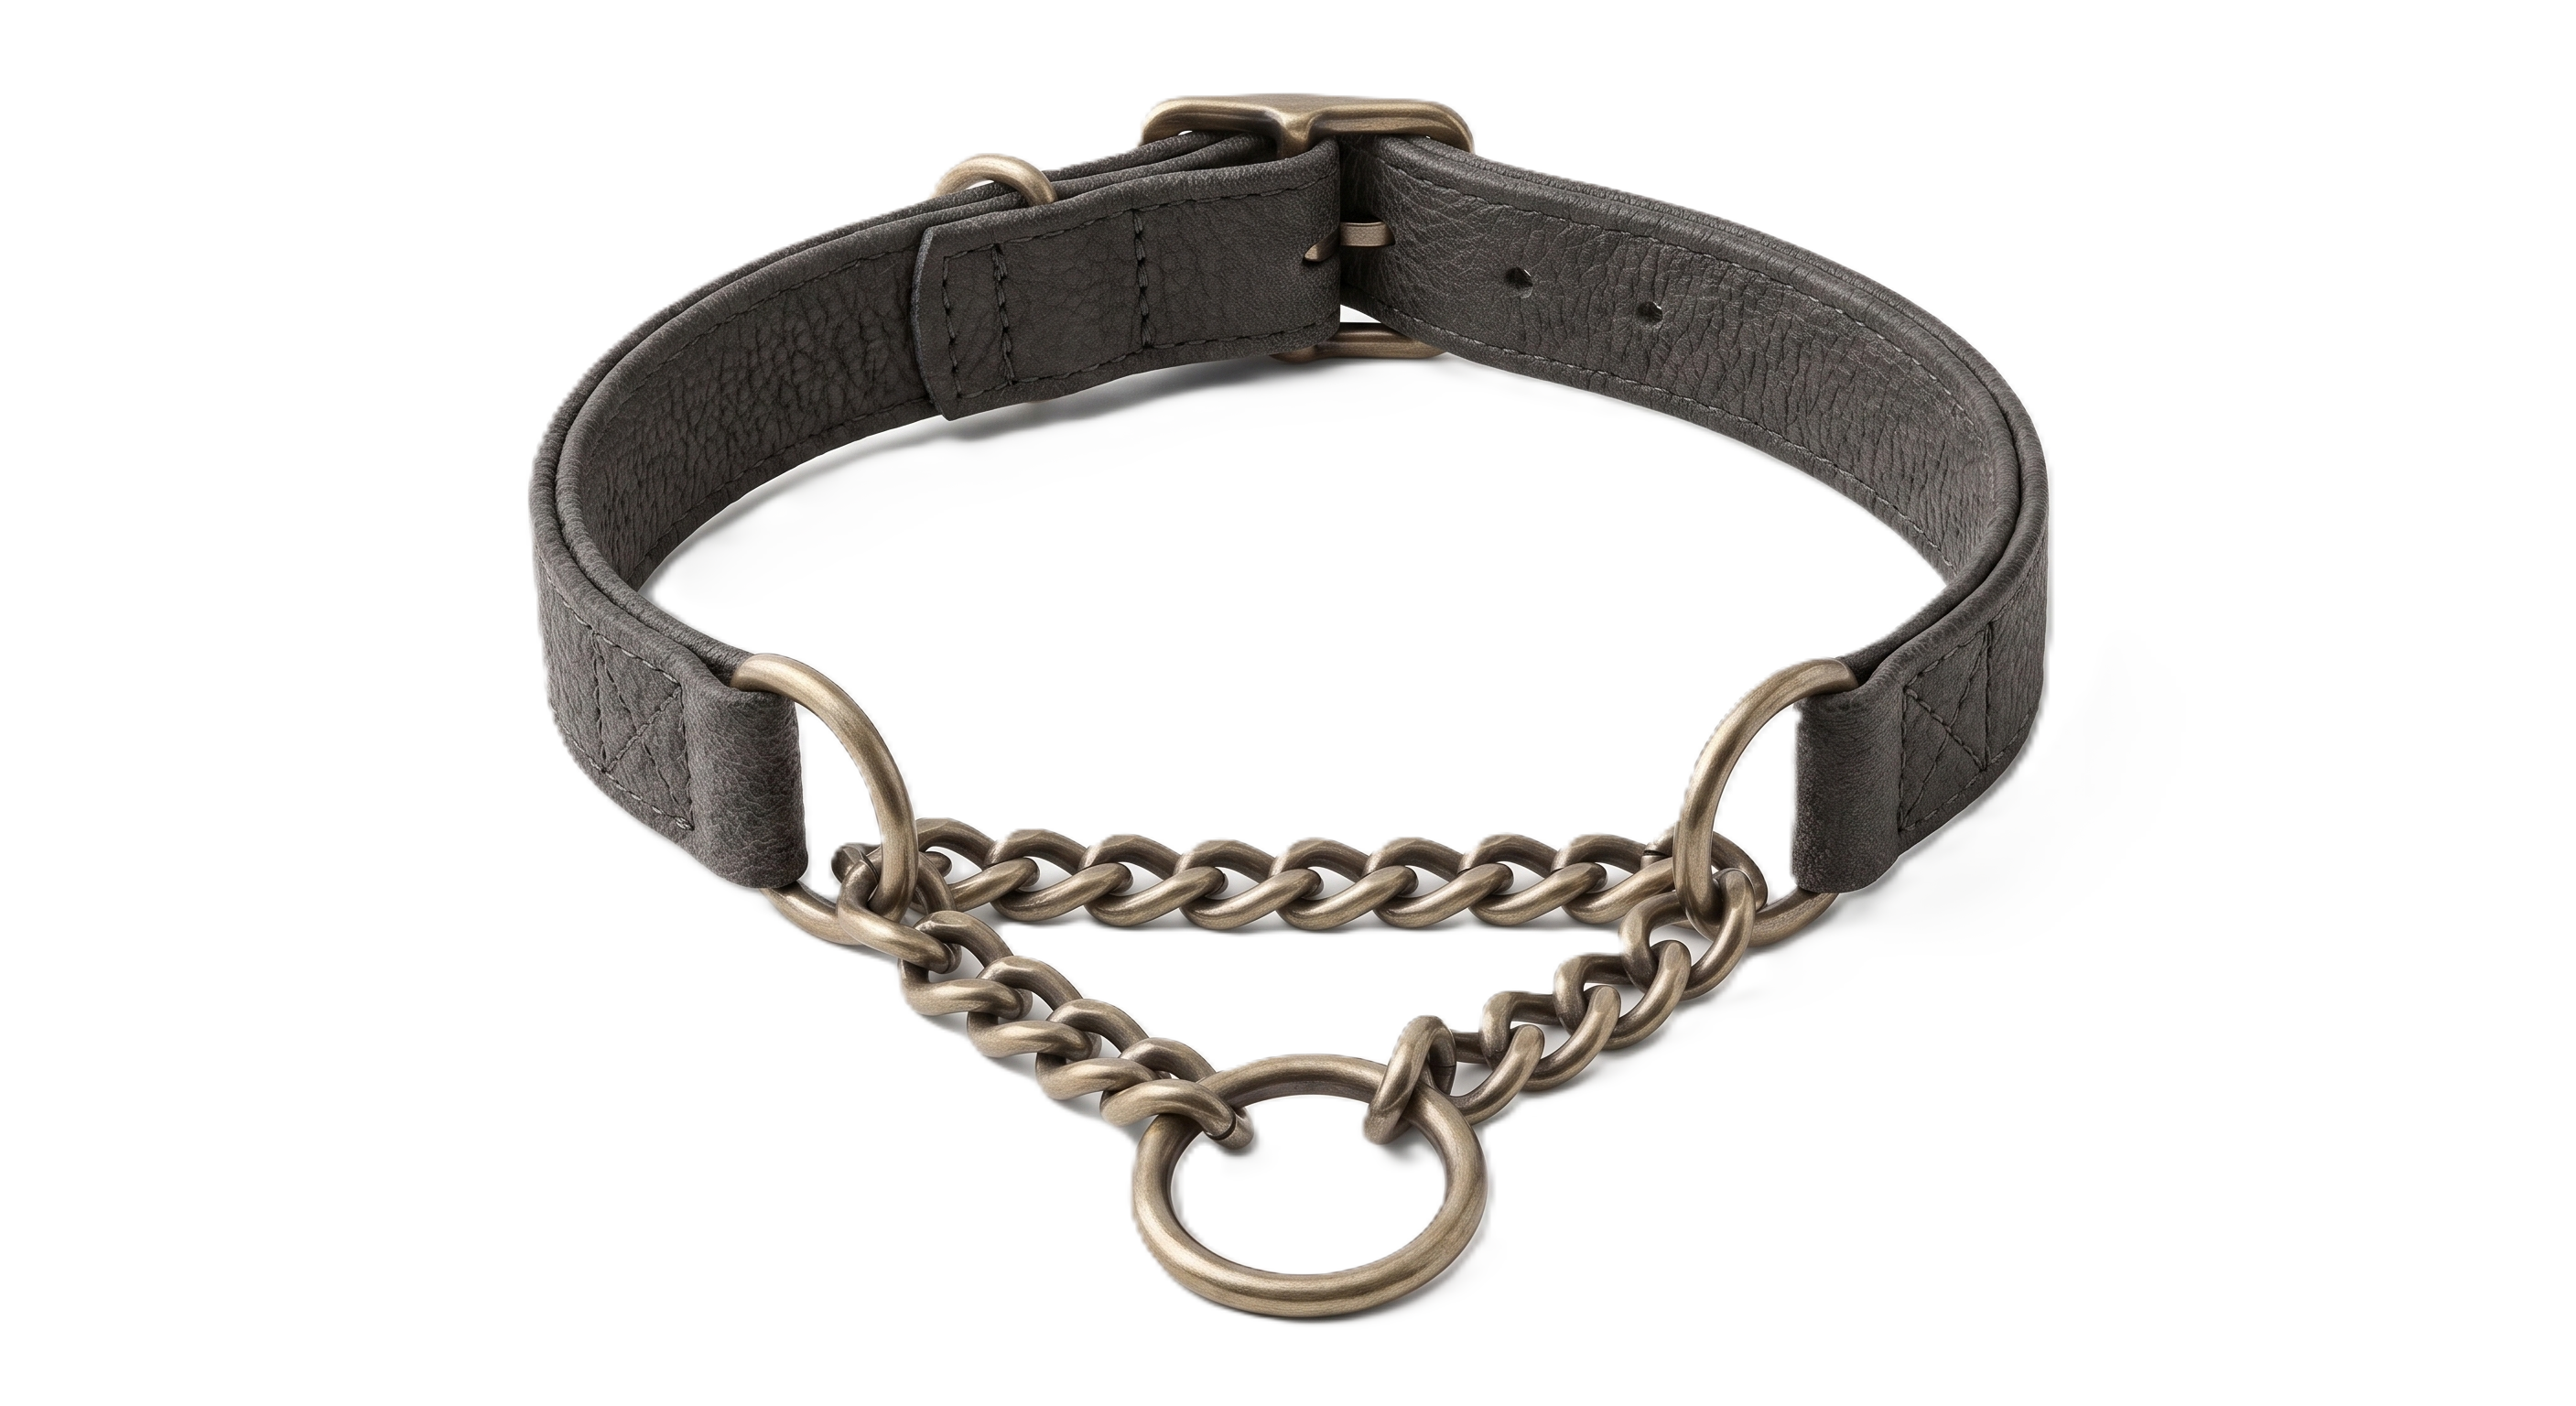
A limited-slip collar that tightens gradually when a dog pulls, then stops — designed mainly to stop dogs with narrow heads slipping out of a regular collar.
Advantages: Prevents dogs with narrow heads slipping out of the collar; safer than a full slip collar due to the limited-slip design; comfortable for everyday wear once correctly adjusted.
Disadvantages: Needs correct adjustment to avoid over-tightening; offers only mild feedback, so may not be sufficient alone for very strong pullers; not designed as a correction tool on its own.
Slip Leash
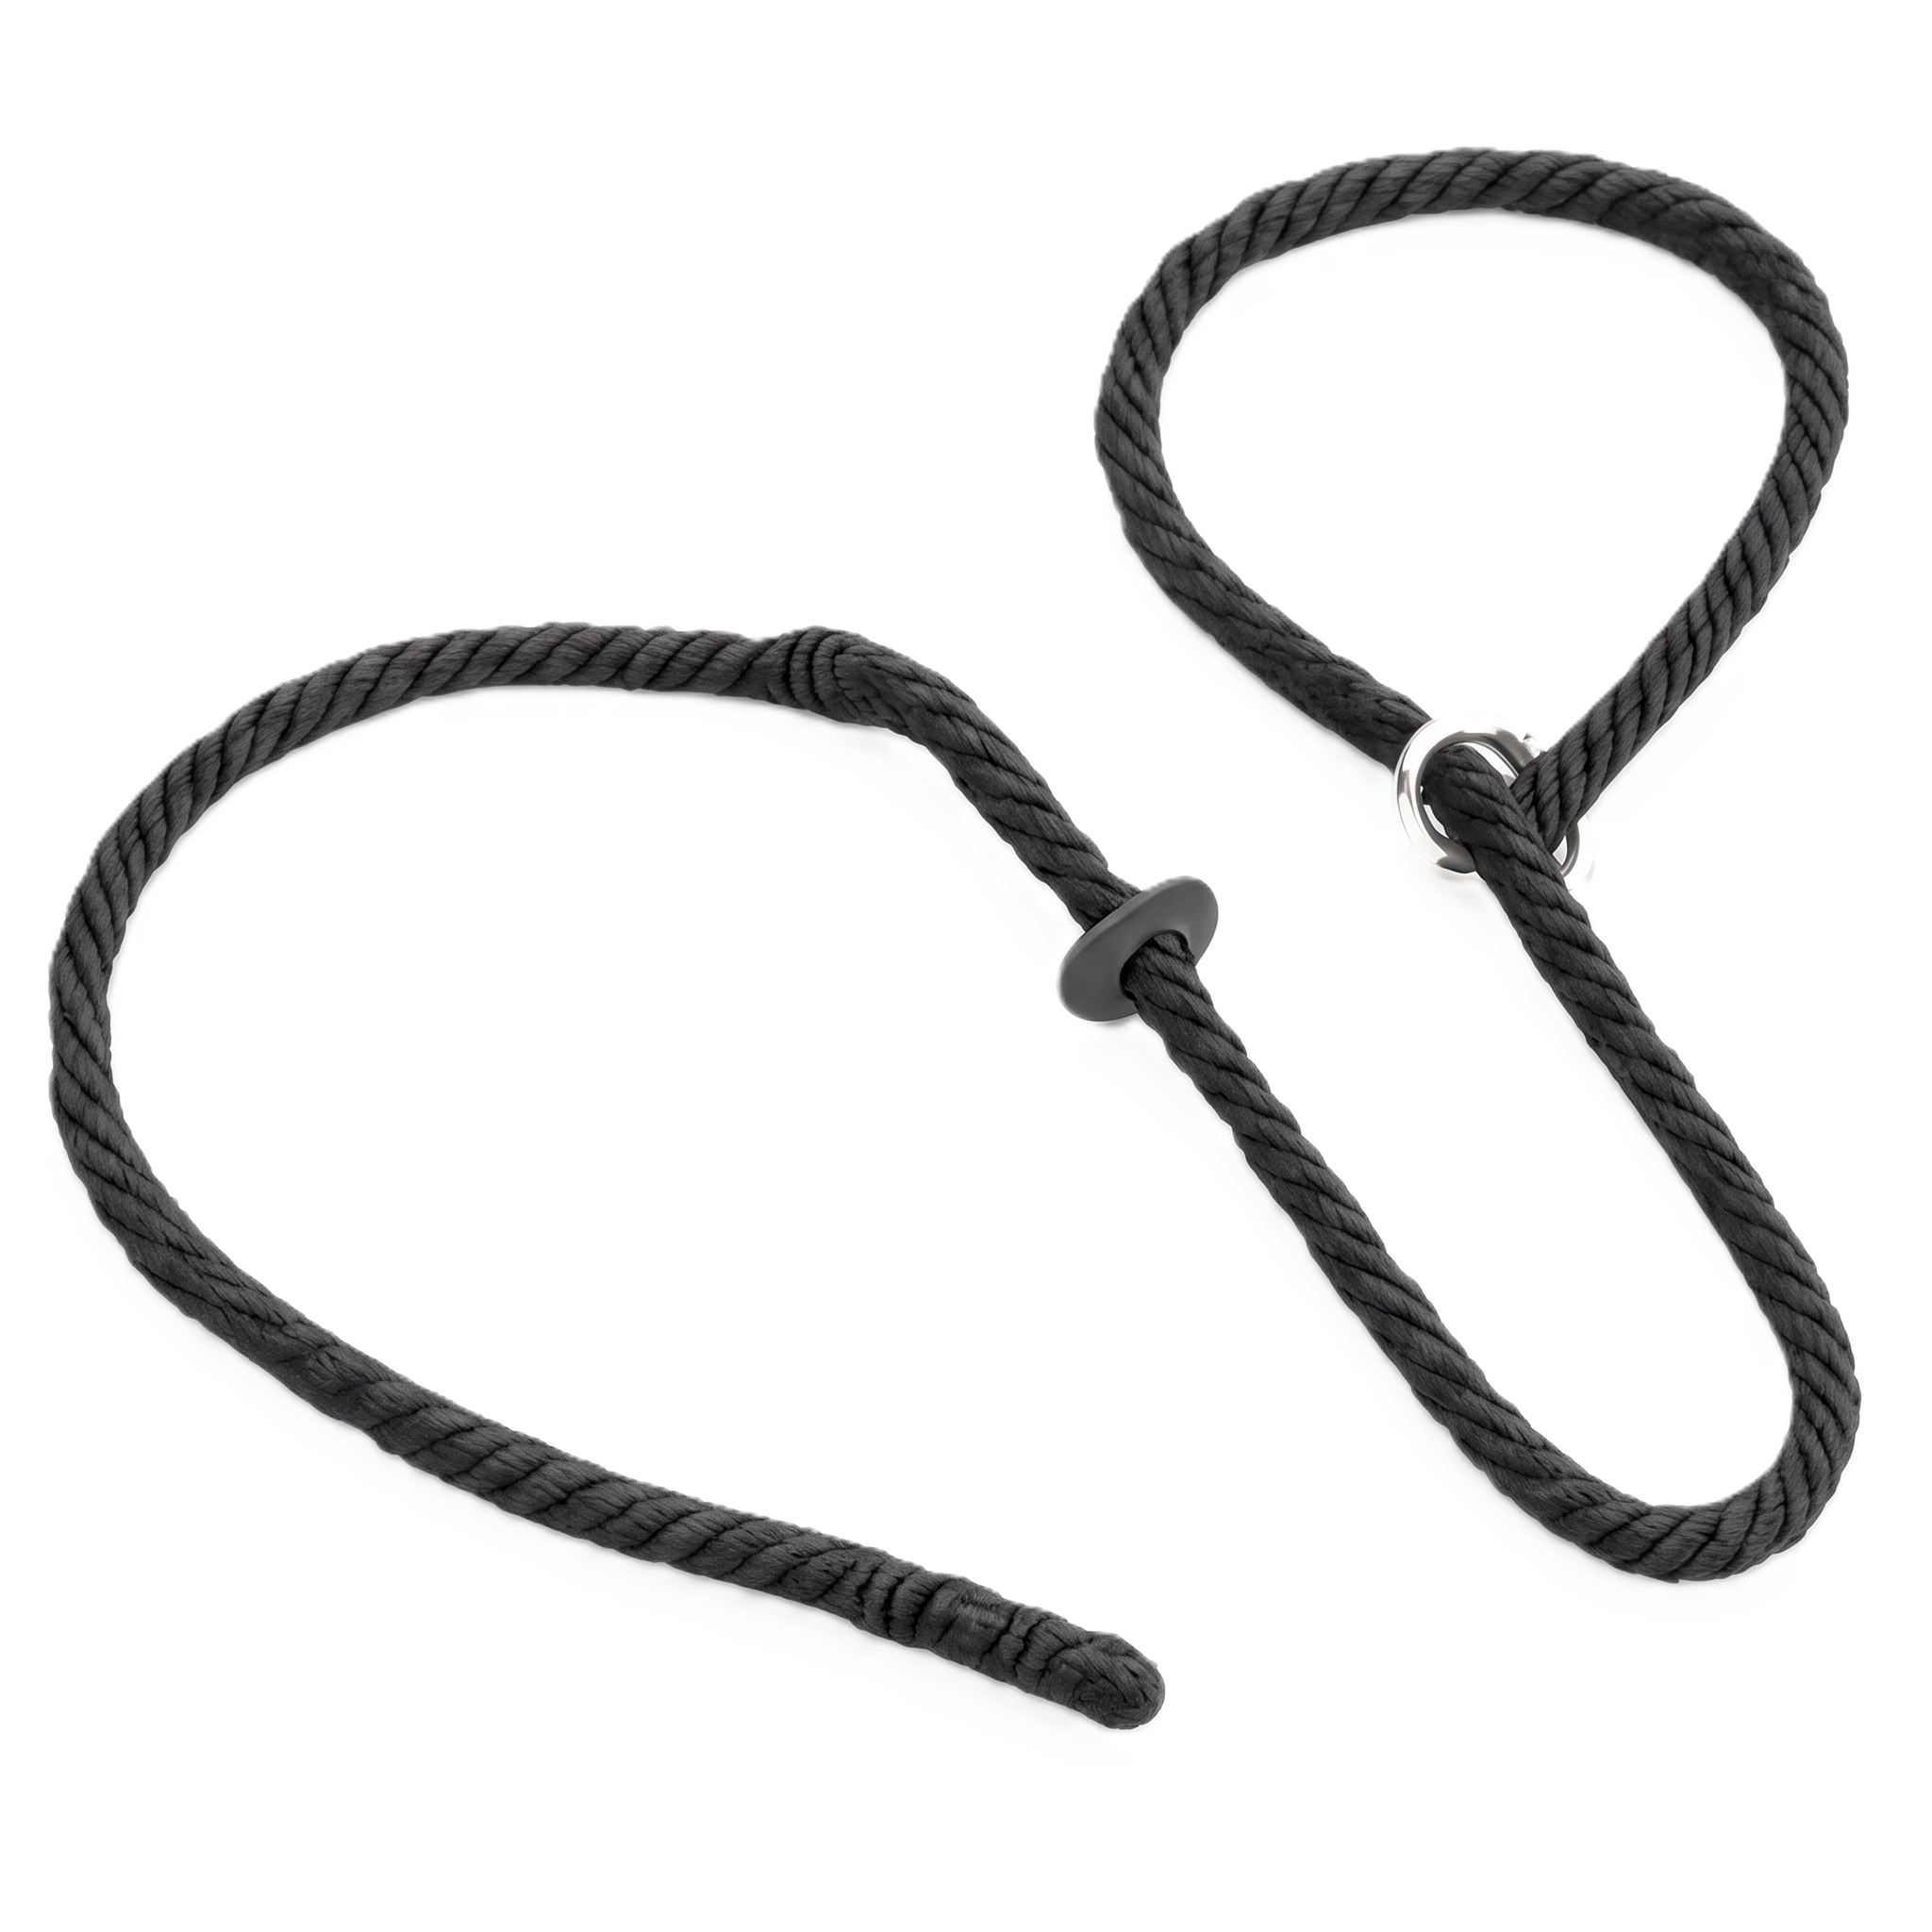
A metal chain that fully tightens around the neck when pressure is applied. It's an aversive tool, and many trainers have moved away from it in favour of the safer alternatives on this page.
Advantages: Can give quick feedback in experienced hands; historically widely used.
Disadvantages: Genuine risk of tracheal or neck injury if fitted or timed incorrectly; unsuitable for anxious, fearful, or aggressive dogs. The Australian Veterinary Association specifically advises against collars designed to cause discomfort or fear, including choke collars.
Training Choker (Fur Saver)
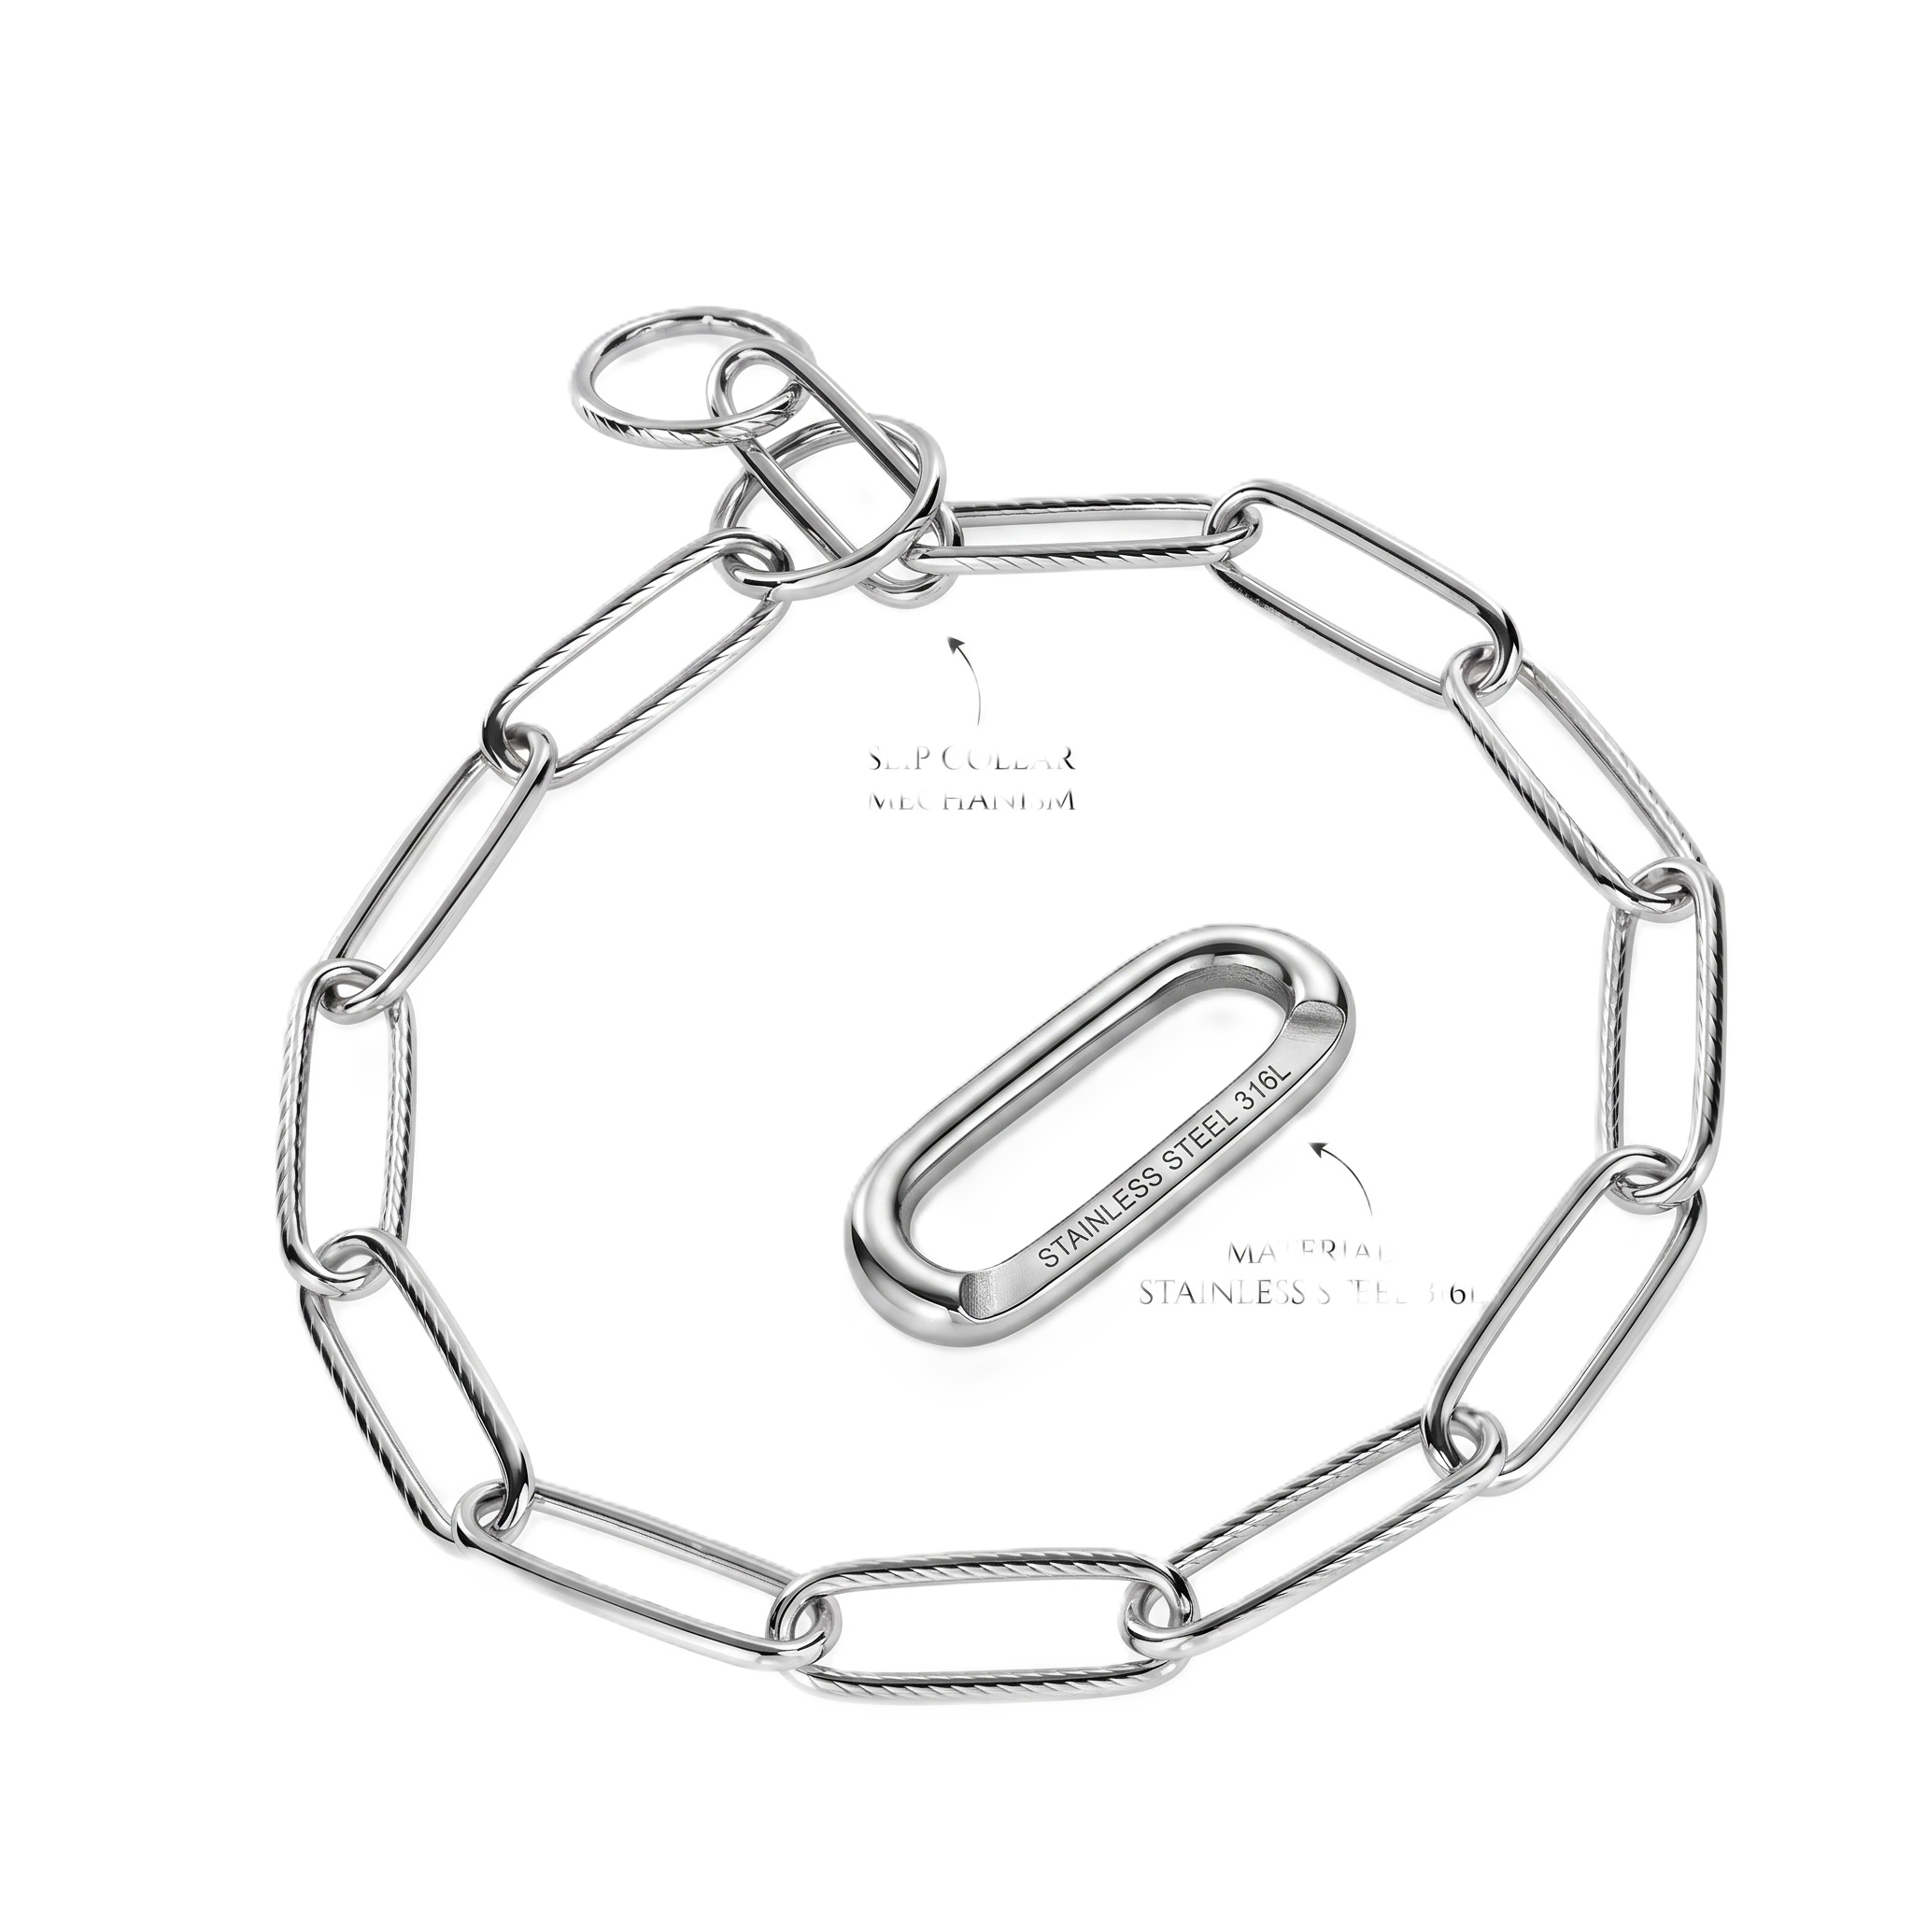
Also called a fur saver or check chain, this tool has a chain running through a leather or fabric strap. The chain passes through a loop, not around the neck. When the leash tightens, the chain makes a distinctive sound and applies slight pressure — both signal that a reward is coming, just like leash pressure training.
Advantages: The noise and slight pressure give clear feedback; the leather strap protects the dog's coat; simple, durable design.
Disadvantages: Unsuitable for noise-sensitive, anxious, or fearful dogs; unsuitable for puppies or dogs with any neck sensitivity; effectiveness depends on correct timing and the dog understanding what the noise and pressure signal.